

iPad 101: The Basics - iOS 4.3
Step 3: Set up your Mail.
[You should be in the Settings section of your iPad. If not, tap on the Home button and then on the Settings icon on the Main iPad screen.]
(click on an image to enlarge it)
To set up your email, tap on the Mail, Contacts, Calendars (Fig. 15) 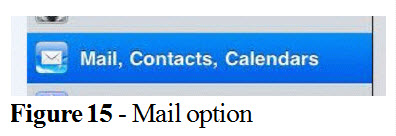 option under the Settings column.
On the right side of the screen, tap on Add Account (Fig. 16).![]()
You will now be given a list of common email systems (Fig. 17). 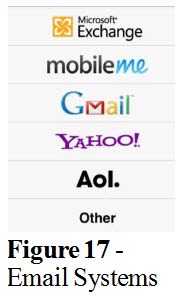
Tap on Microsoft Exchange. You will be asked to provide account information (Fig. 18). 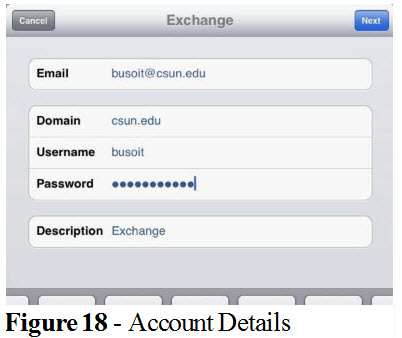
Move from item to item by tapping on the appropriate field.
Email: Type in your email address as you would like it displayed
Domain: csun.edu
Username: Type your UserID (same as Step 2)
Password: Type in your password
Description: Leave alone or type something that is more descriptive to you.
Tap Next when done.
After a few seconds, the Server field will appear (Fig. 19).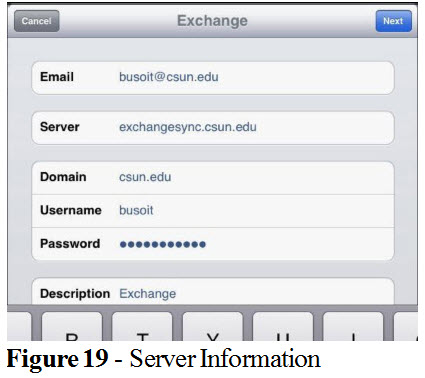
In this field, type exchangesync.csun.edu. Tap on Next when done. The system will now display the items that will be synchronized from your account (Fig. 20).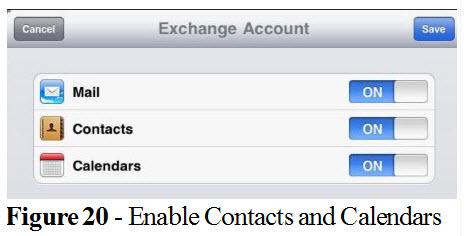
If you want to synchronize an item, make sure the switch is on the ON position. Turn OFF anything not desired. Tap on Save when done. You will be taken back to the Mail, Contacts, Calendars settings screen.
Last Reviewed: November 9, 2011
