
Instructions
Step 1: Open the Microsoft Word document "300_essay_outline.doc"
Step 2. When the dialog box in figure 1 below appears, click "Save" and remember to save the file on your desktop, or somewhere where you can easily find it.
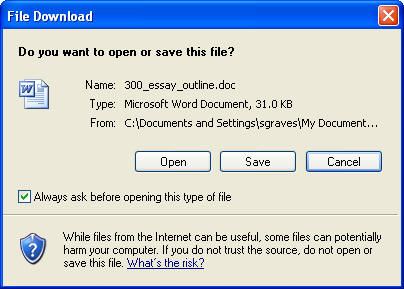
Figure 1: Microsoft Word Download Prompt Window
Step 3. Open the file in Microsoft Word...or another word processor...keep your fingers crossed...
Step 4. Once the file is open, you should notice a tool bar at the top of your screen that allows you to manipulate what is on the screen. See the screen capture below in figure 2. The green right and left arrow buttons (on the left side of the tool bar) allow you the promote or demote the line of text where your cursor is placed.
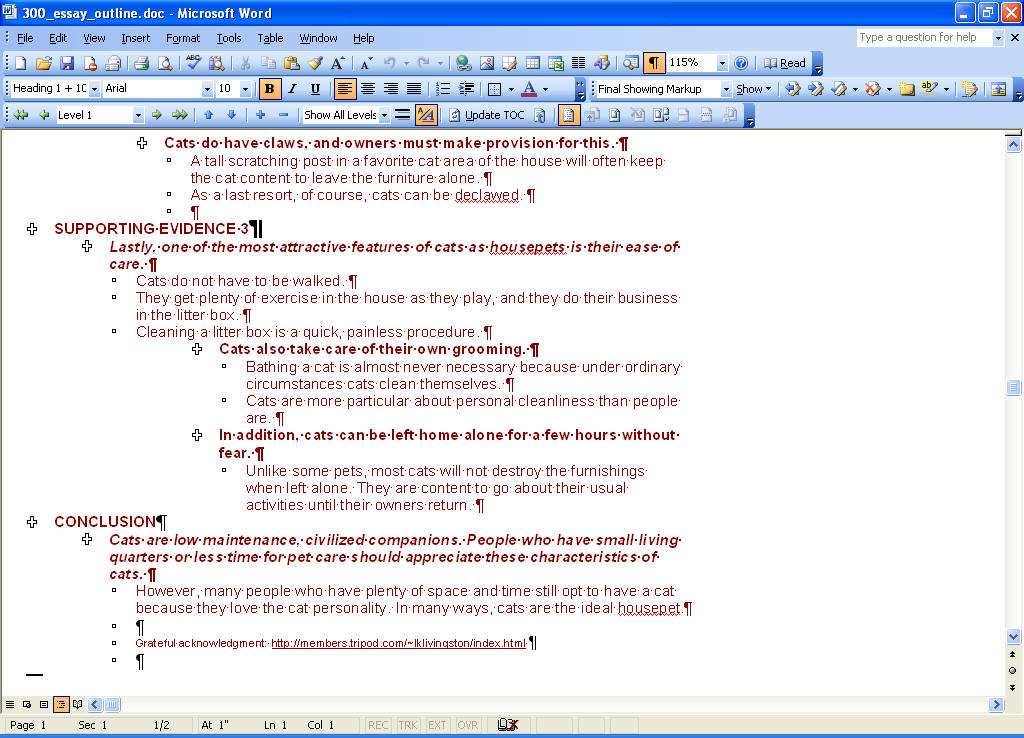
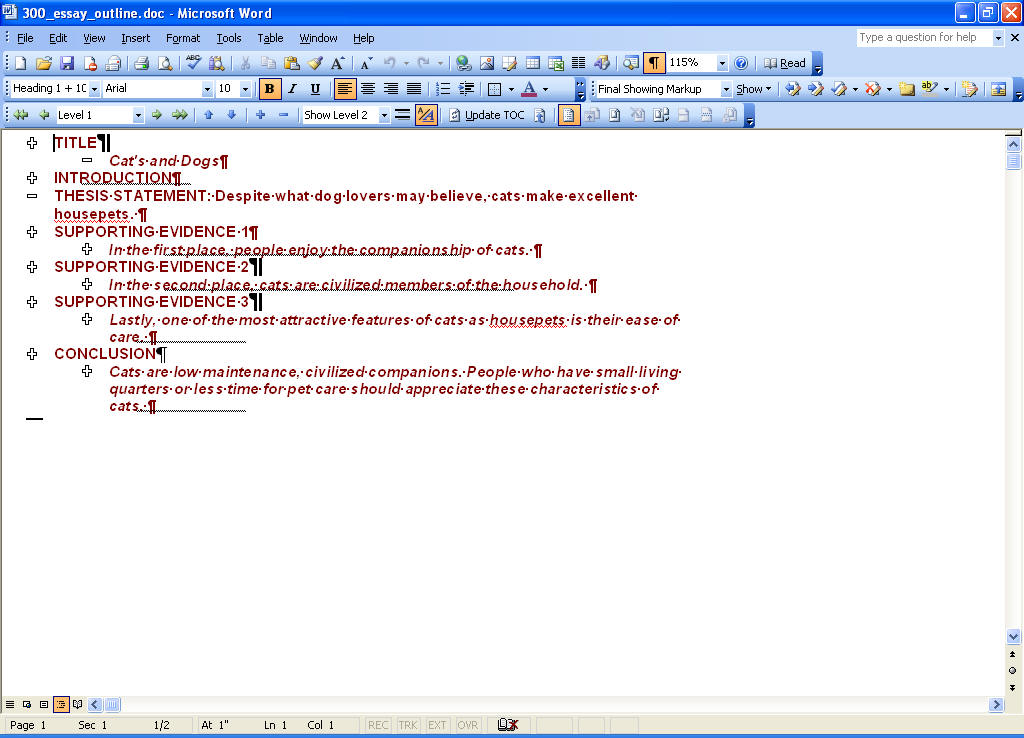
Figure 2: Screen Capture of file in Outline Mode
Step 5. Click on the down arrow button to the right of the "Show All Levels". This function allows you to essentially hide from view the lesser points in your outline. Choose from the drop down list "Show level 2". Your page should resemble Figure 3 above.
Step 6. Note that just to the right of the "level" drop down list , there is a function that allows you to hide all of the text in a sentence beyond the first line, which may again prove useful as you try to construct more logically coherent paragraphs. By using this function, you may be able to check to see if your first sentences do indeed function as good topic sentences. If you hide the supporting sentences in a paragraph, and you can still understand the structure of your argument, then you've probably constructed pretty good topic sentences. See Screen Capture below in figure 3.