Powerpoint
Starting off, you will want to create the proper file structure, you can complete this before you open up the application or you can complete this during the saving process. Once again, if using the U-drive, you will need to save your document in the 'public_html' folder.
1. Changing the fonts
2. Changing the color scheme
3. Adding graphics or clipart ("Insert" "Picture" from "Clipart" and double clicking on an image.)
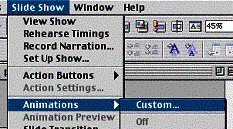
4. "Slide Show" "Custom Animation" and choose different options.
5. "Slide Show" "Action Setting" to create a hyperlink.

Once you choose this, you will then need to type in a URL. (Ex. if you wanted the person to go CSUN's homepage, you would type in "http://www.csun.edu."
6. To insert a new slide, select "Insert" "New Slide" and continue with previous steps.
DOWNLOADING FROM THE WEB
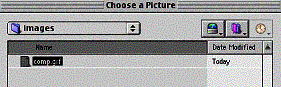
In this section, you will learn how do download or copy pictures. Just about every image or picture that you see on the Web is downloadable. Keep in mind when you download an image, you will want to save the image to the correct location. This is very important and if you do not do this correctly, you will have a lot of trouble. In your case, you will download all of your pictures to the "images" folder. Lets practice on one.
2. Now that you have the image saved, you will want to place your image onto your presentation. To do this, go back to your presentation and choose "Insert" from the toolbar, "Picture" and then from "File" and you will need to navigate to where you saved the image. In this case, you saved it in your "images" folder and you should look for the file "

You will find the file and you will want to insert the file and hit insert and the picture will appear on your presentation.
ANIMATION.
Keep in mind that these are the minimum requirements, and to do extra is always a good idea.
In the end, you will need to have the following.
1. Minimum of 8 slides.
2. Hyperlinks
3. Animation
4. Sound
If you decide to print, choose "File" "Print." When the print menu appears, choose "Microsoft PowerPoint" instead of "General." In the "Print What" choose "Handouts (6 slides per page)."
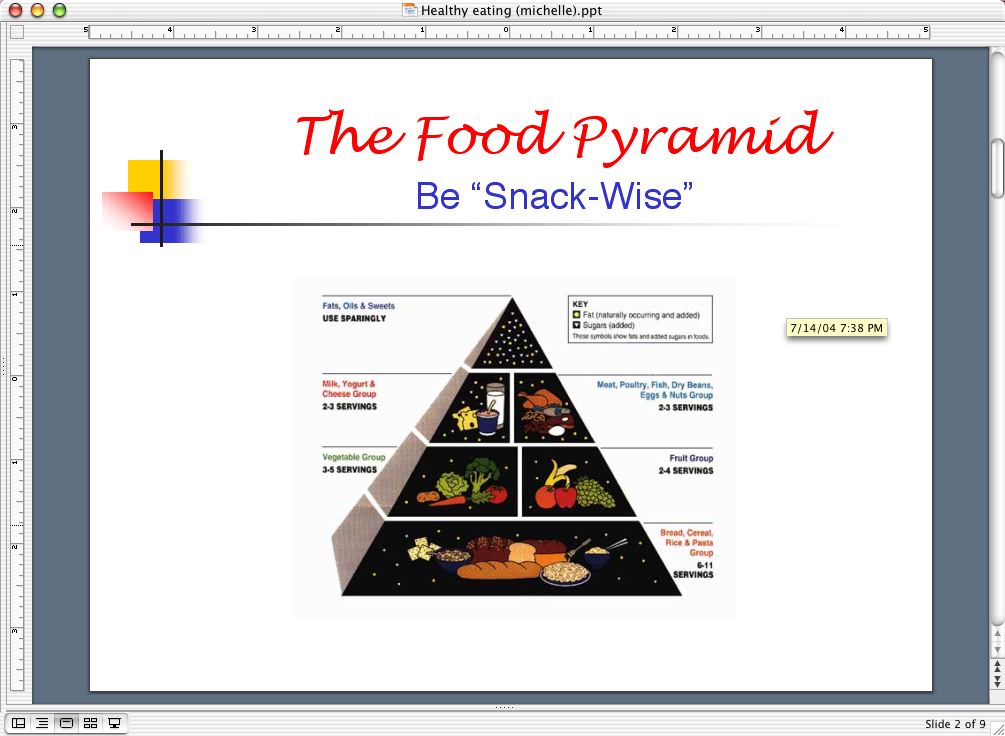
Sample