This is a tutorial only. No login is required.
INTRODUCTION
This guide reviews how CSUN staff granted security access to the Schedule of Classes (SOC) view the "interactive" Class Roster.
Noteworthy
- Faculty can view their class rosters one week before registration begins.
- A class roster shows add/drop dates and lists the reason why a student is no longer in the class (admin drop, self-dropped, disenrolled, etc.).
- The Grade Date in the roster is the date that the official grade was posted to the student's record.
- Two reasons why an instructor can't see a class roster:
- Instructor is not assigned to the class on the Meetings page.
- The process to update the instructor's security profile takes 24 hours after assigning the instructor to the class. If longer, contact the SOLAR Support help desk.
Other ways to view a Class Roster for scheduling and non-scheduling staff is to run Class Roster reports. See View SOC Report Descriptions guide for details.
Step 1
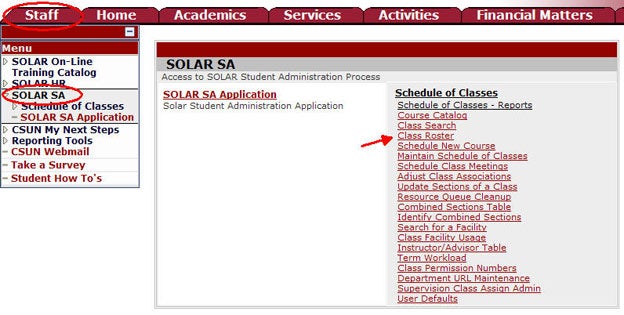
- Log into myNorthridge Portal.
- Under the Staff Tab, click SOLAR SA.
- Click Class Roster.
Step 2
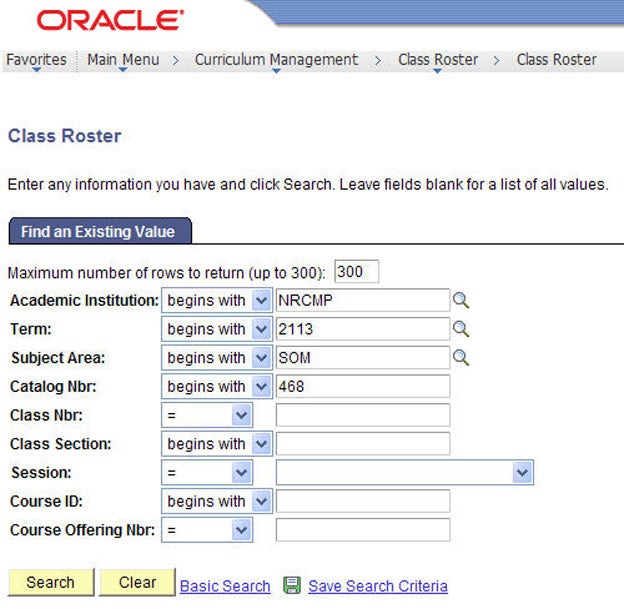
On the Find an Existing Value page:
- Enter the Term
- Enter a Subject
- Click Search
- Select a course from the Search Results
Step 3
The Class Roster page displays.
Features:
- Class Detail
- Class Permissions
- Enrollment Status
- Notify Selected Students
- Notify Enrolled Students

Step 4
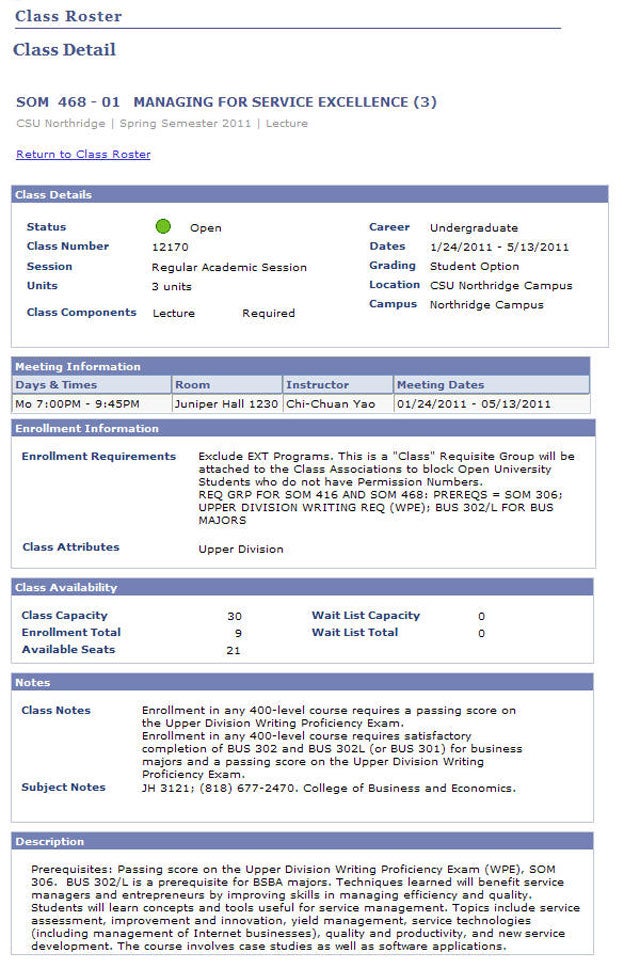
View the SOLAR self-service Class Detail page from within a Class Roster.
This page is displayed to students when they register for classes. It provides enrollment information as well as class notes.
Step 5
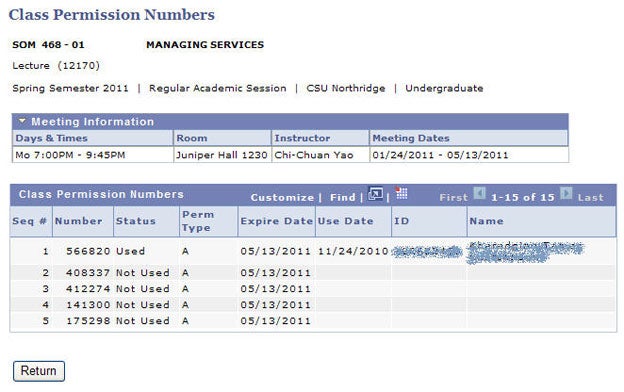
Staff with access to Class Rosters can view a list of used and un-used permission numbers.
Example of the Class Permissions page.
Step 6
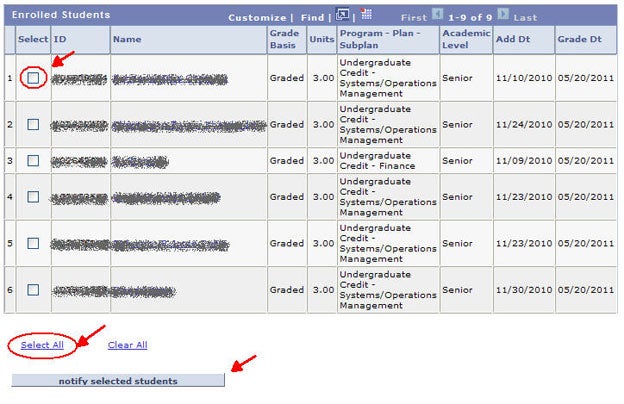
To email one or more students use the Notification buttons.
Email SOME students—
- Check the individual box next to each student you wish to email.
Email ALL students—
- Click the Select All link and SOLAR will automatically check all boxes.
When you have made your email selection, click the Notify Selected Students button.
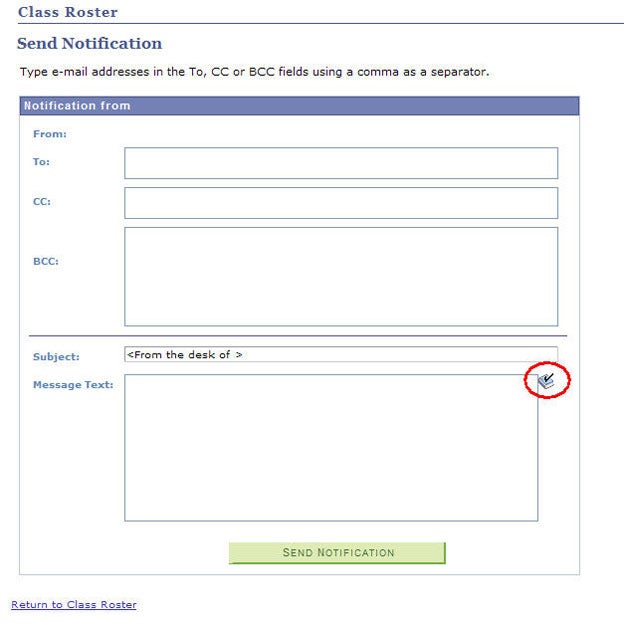
Step 7
The Send Notification page displays.
Remember to provide alternative class choices when notifying students of a class cancelation.
- Modify email fields as needed.
- When finished, click the Send Notification button.
To run spellchecker, click the book icon.