Creating & Joining External
Attribute Data
ArcView 3.x
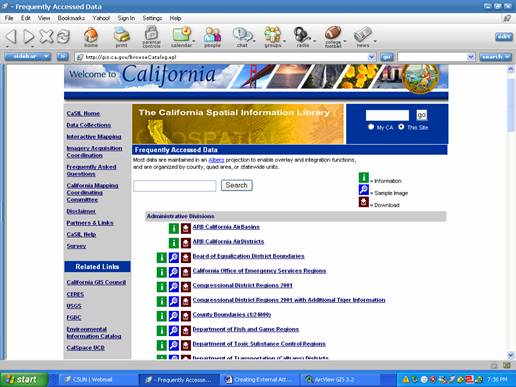
Navigate to the http://gis.ca.gov website. In the left-hand menu, click on “Data Collections” and then choose “Frequently Accessed Data Layers.” Your computer screen should look like the one below:
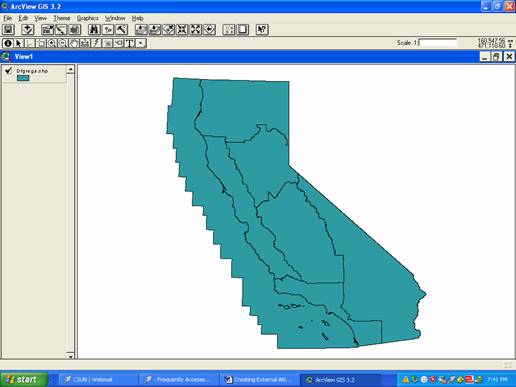
Click on the “Department of Fish and Game Regions,” and download the shapefile. Once you have the shapefile downloaded and saved, launch ArcView with a “New View” and use the “Add Theme” button to load the shapefile. Once you have it loaded and opened, it should look something like the image below:
Open the theme table and take a look at the attribute data that came with the shapefile.

There is not very much attribute data included. Let’s assume that you have just taken a job as a GIS Technician for the Department of Fish and Game. You know that a lot of data has been collected by field biologists and needs to be merged with existing data. Your agency’s existing data currently resides in spreadsheet form in MSExcel with small amounts of data also in ArcView. You decide to first enter the new field data into MSExcel and then also add it to your GIS data in ArcView. To start the process, you open a new file in MSExcel:
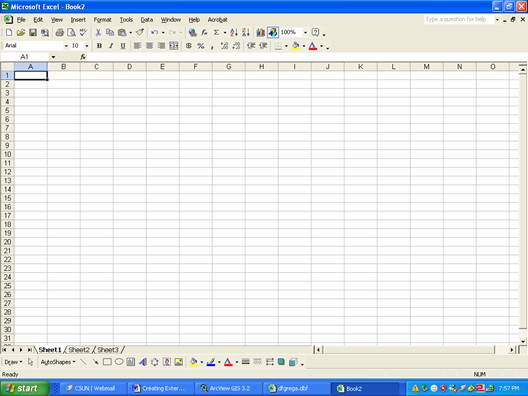
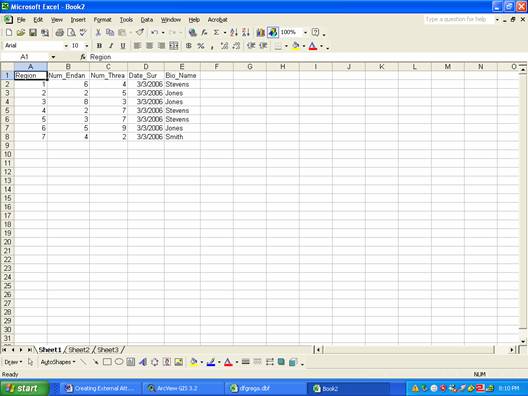
You fill the table in with the new field data until it looks like the table below. You make sure that the new table has at least one column of data that is the same as a column in the theme table in ArcView that you will later join this table to.
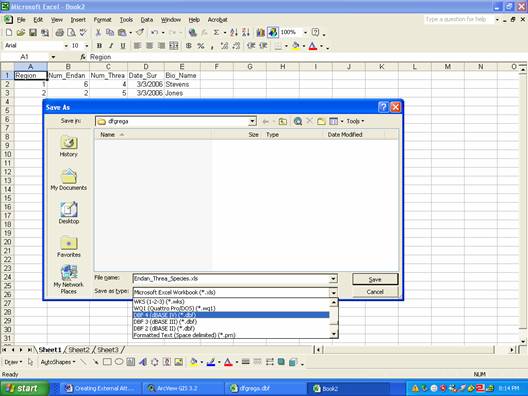
You now have to save the table as a .dbf file so that it can be added into ArcView. You choose the “File” menu and select “Save As.” You name the file “Endan_Threa_Species,” and then you scroll down and select “DBF 4 (dBase IV)” as the file choice. Click “Save” to save the new file (Choose OK to save only the active sheet and YES to keep the formatting the way it is):
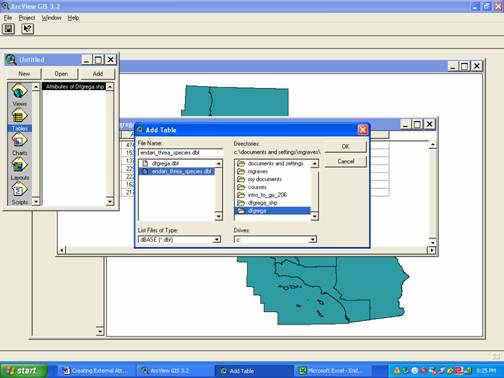
You are finished with MSExcel, so you go ahead and close the program (choose NO if it asks if you want to save your work—you just saved it, no need to do it again unless you changed something). Click back into ArcView and make the Project Window active. In the Project Window, click on the “Tables” icon and then click the “Add” button. Go to the folder where you saved the Endan_Threa_Species.dbf file and add it to ArcView.
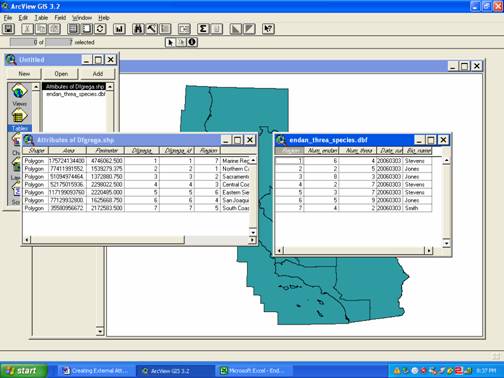
The new table should automatically open. Arrange the two theme tables so you can see both of them. Make sure the new table is active. Look at both tables and notice the column (field) that both tables have in common. The column in both tables that contains the same data is called the “identifier” or “primary key,” and will be used to join the tables. In the Endan_Threa_Species table, click on the heading of the “identifier” column so it is selected (it will turn dark gray).
Click on the top bar of the Dfgrega table to make it active and then click on the heading of the matching “identifier” heading (it will turn dark gray). Notice that the “Join” button has become available. Click the “Join” button.

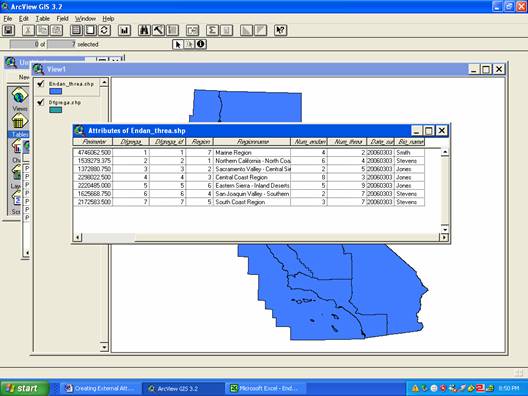
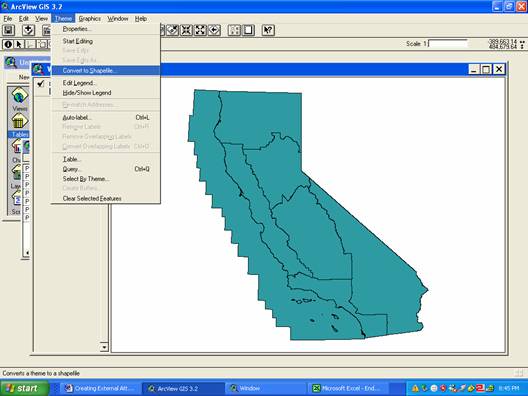
You should notice that the new data has been added to the original Dfgrega table. The new data is just temporarily placed in the Dfgrega table for viewing and analysis (the join function creates a temporary relationship—not a permanent change). You want the new data to permanently become part of the Dfgrega shapefile attribute table, so you click back in the View window to make it active and then you select the “Theme” menu and click “Convert to Shapefile.”
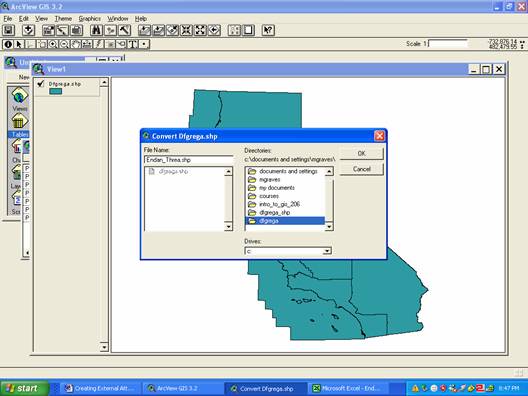
You find the folder where you would like to save the new file and name it “Endan_Threa.” Select YES to add it back to the View.
Take a look at the theme table for your new shapefile and you will see both the old attribute data and new attribute data are part of the theme table (a permanent addition instead of a temporary join).